by Olga Lukashevich
http://www.olika.com.ua/
You can create a wonderful present for Christmas from the simple clay pot for the flowers. We have to mention that a clay pot is much easier in priming than a plastic one and if you place a couple of beads inside as a bell-clapper, it will make a lovely bell sounds.
Supplies: small clay pot, primer, napkin, PVA or decoupage glue, acrylic paints, big bead, ribbons
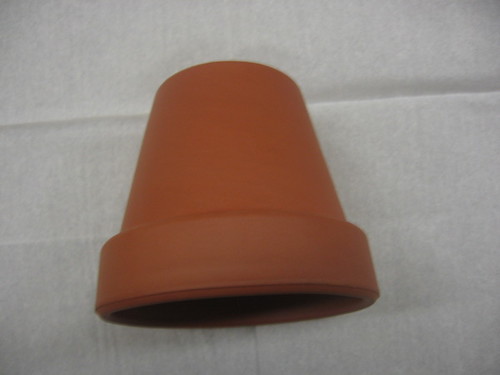
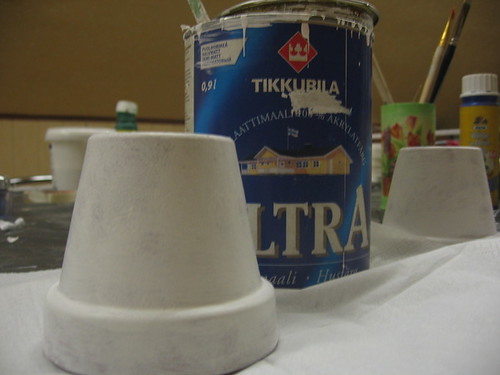
First of all, take a small clay pot, will the form of bell.
Apply a primer (it can be a simple white acrylic paint)
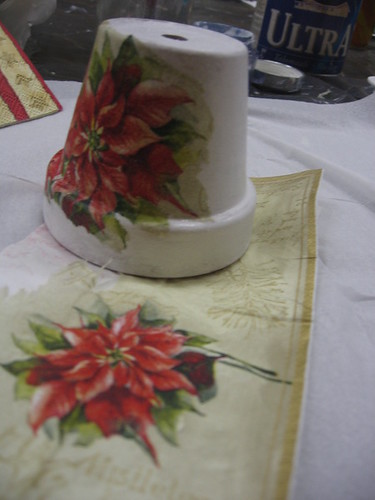
Choose a suitable decorative motive from napkins, cut it carefully, and apply it to the pot with the help of the polyvinyl glue (simple PVA white glue).
Next step - to create a background around your motive. In this occasion we were
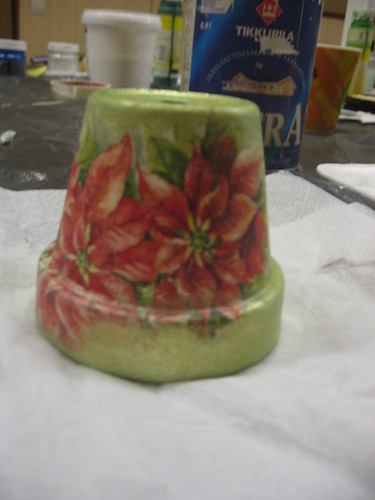
trying to create the same one as on our napkin, but to make it a little bit brighter. We were using acrylic mother-of-perl colours of green, blue and a little of golden. Apply carefully, using a small sponge. You can add some golden colour on top, just use your imagination.
Smooth the surface (with sandpaper), cover it with lacquer, and wait to dry
completely before you will apply another layout of lacquer. Or you can sprinkle the surface with the sparkles when the surface is still wet.
Then you have to fix the lace on our Christmas bell. (We fixed it inside with the help of small round carton (piece of a cardboard). Make a knot inside the pot, use the ends of the knot as a bell-clapper, and place a bead on it. Decorate the Christmas Bell with a bow on top.
More bells
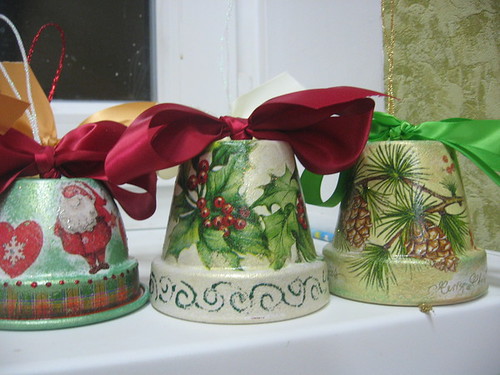
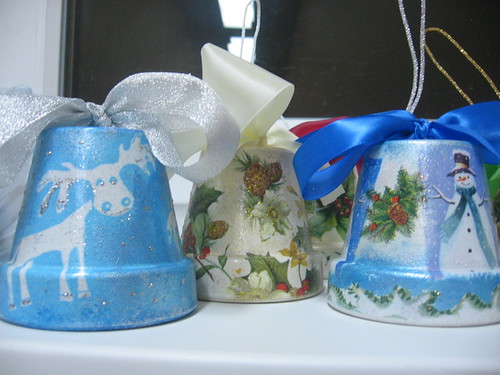
It's decoupage Christmas!
http://www.olika.com.ua/
You can create a wonderful present for Christmas from the simple clay pot for the flowers. We have to mention that a clay pot is much easier in priming than a plastic one and if you place a couple of beads inside as a bell-clapper, it will make a lovely bell sounds.
Supplies: small clay pot, primer, napkin, PVA or decoupage glue, acrylic paints, big bead, ribbons
First of all, take a small clay pot, will the form of bell.
Apply a primer (it can be a simple white acrylic paint)
Choose a suitable decorative motive from napkins, cut it carefully, and apply it to the pot with the help of the polyvinyl glue (simple PVA white glue).
Next step - to create a background around your motive. In this occasion we were
trying to create the same one as on our napkin, but to make it a little bit brighter. We were using acrylic mother-of-perl colours of green, blue and a little of golden. Apply carefully, using a small sponge. You can add some golden colour on top, just use your imagination.
Smooth the surface (with sandpaper), cover it with lacquer, and wait to dry
completely before you will apply another layout of lacquer. Or you can sprinkle the surface with the sparkles when the surface is still wet.
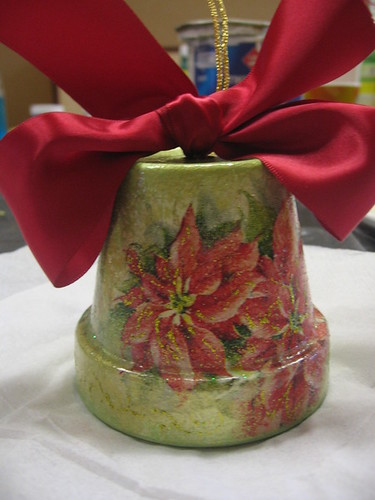
Then you have to fix the lace on our Christmas bell. (We fixed it inside with the help of small round carton (piece of a cardboard). Make a knot inside the pot, use the ends of the knot as a bell-clapper, and place a bead on it. Decorate the Christmas Bell with a bow on top.
More bells


It's decoupage Christmas!
I found my teacher...!!! Kisses
ReplyDeleteI hope I help you :) Welcome!
ReplyDeleteGreat tutorial and so easy! To turn a clay pot into a bell is just incredible thought!
ReplyDelete