by Marina Nikulina
http://marinanikulina.blogspot.com/
This tutorial was done for the russian magazine "Do it yourself".
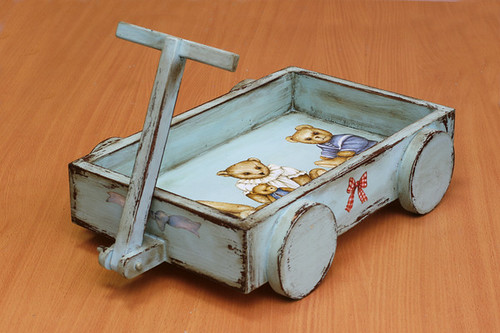
Supplies: wooden trolley, PVA or decoupage glue, acrylic paints, a piece of candle, decoupage paper, liquid bitumen, sandpaper, matt varnish.

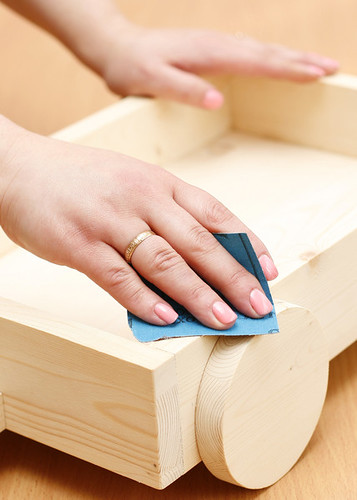
1. Sand all surface of trolley.
2. Apply a layer of glue or wood primer. Let dry.
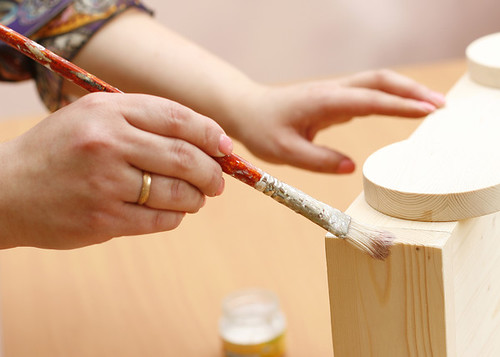
3. Paint the trolley with brown color (it's not nesessary to paint it whole, just prominent places and corners).
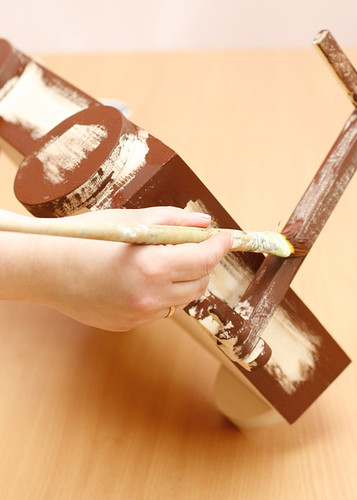
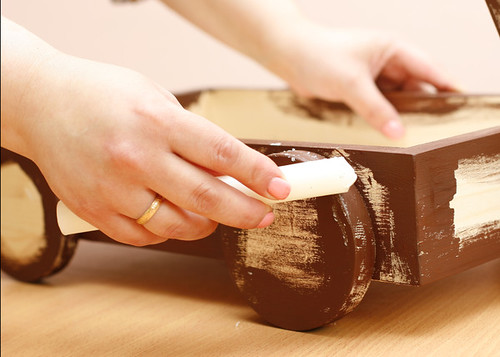
4. Rub places you've painted with a piece of candle.
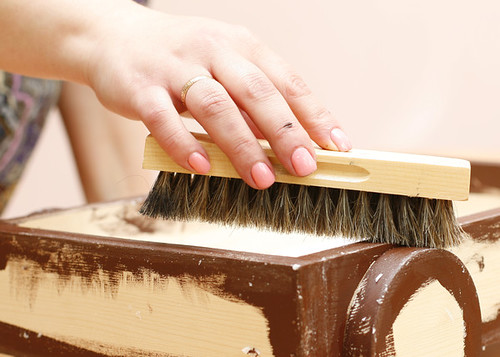
5. Remove the excess paraffin with a brush.
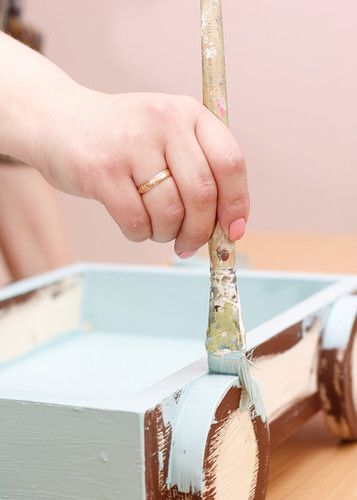
6. Paint the trolley with light-blue color.
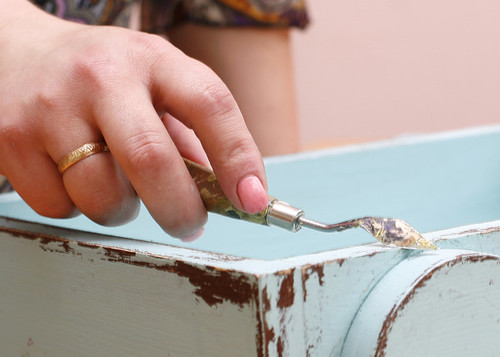
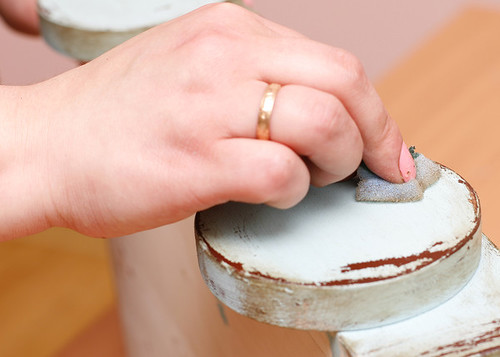
7. Remove the top layer of paint in area where paraffin was applied. Use palette knife or coarse sandpaper to do it.
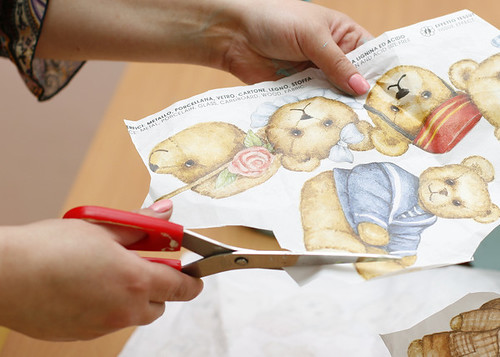
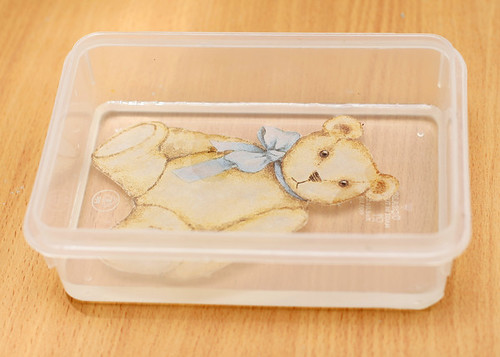
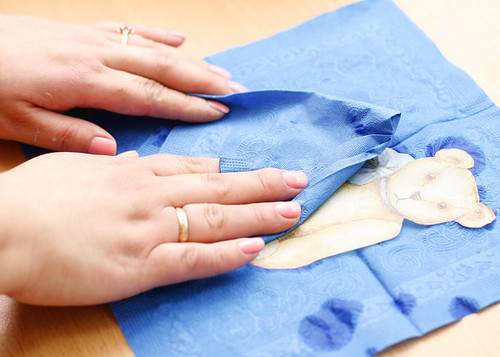
8. Cut the picture from decoupage paper, dip it into the water for 1 minute then wipe and stick to the center of trolley.
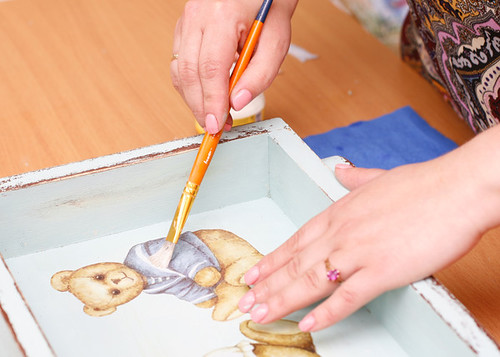
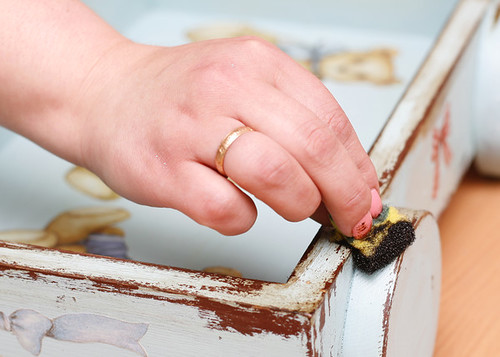
9. Apply the liquid bitumen with brush or sponge.
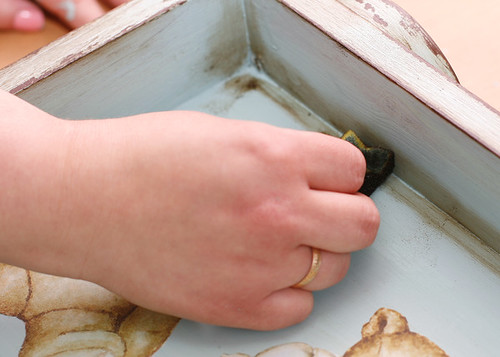
10. Remove excess bitumen with special medium.
11. Varnish your trolley 4-5 times with matt varnish.
Prelepo i hvala za tutoril.
ReplyDeletePrecioso¡¡
ReplyDelete