by Marina Sviryakina
http://marinasviryakina.blogspot.com/
Supplies: bottle of shampain, PVA or decoupage glue, picture, structure paste or acrylic putty, spatula, prime, acrylic paints, sandpaper, sponge, crystal paste, varnish.
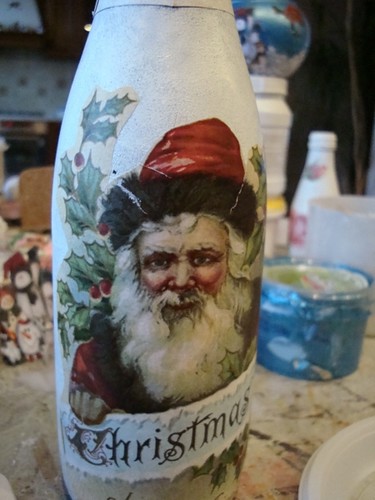
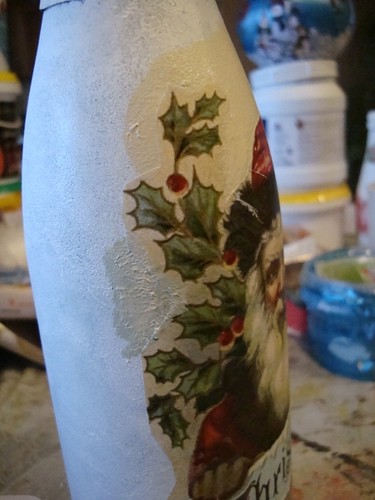
- First of all you need to degrease the bottle you’ve chosen, prime it, and with the help of PVA glue apply the motive that you like.
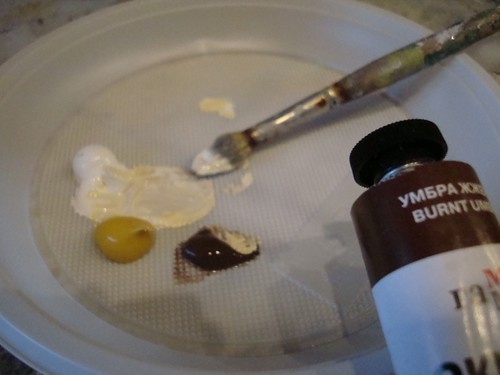
- Now were are creating the tone of our future gift – using the acrylic colours: titanum white and ochre yellow
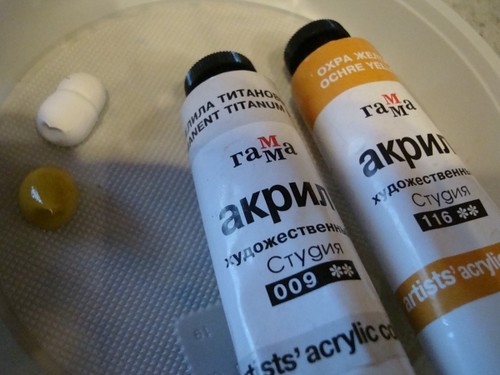
- Mixing colours we are trying to find the most suitable tints.
- If the tone is too intensive, add more gentle colours. With the help of the sponge apply chosen paint carefully to the surface.
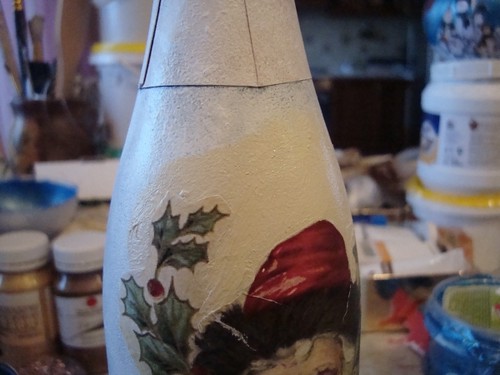
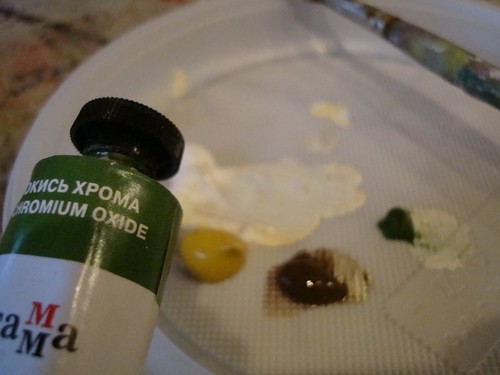
- You can add some green acrylic colours to emphasize the colours on your motive. Finish the toning of the bottle.
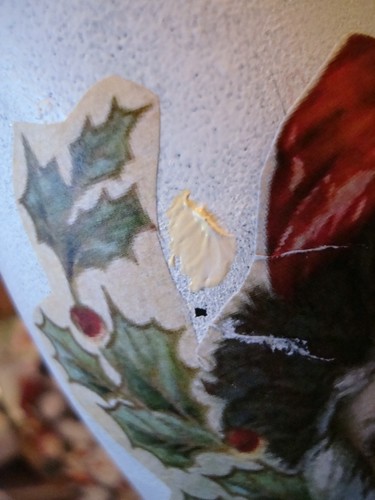
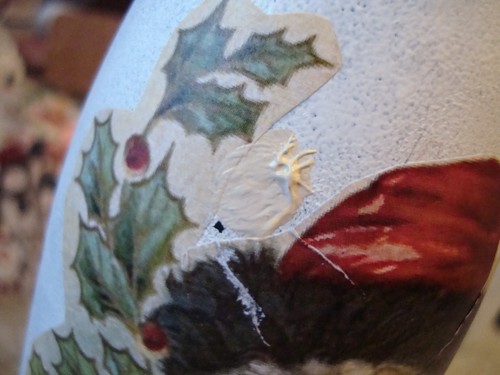
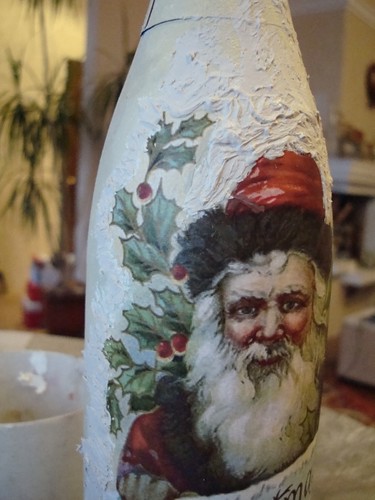
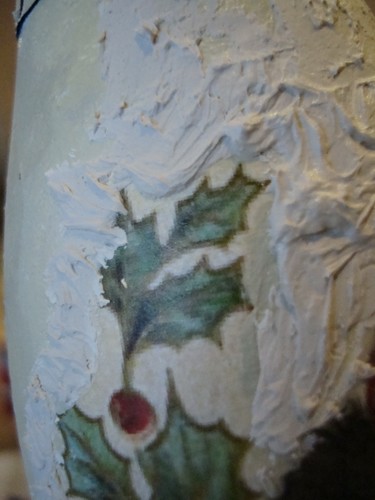
- Wait for your work to dry out completely and smooth the surface (with sandpaper), if the motive was damaged we can paint it with corresponding colour. If you need it, decorate the edges of motive; use some acrylic putty to make some details more bulky.
- Add some crystal paste (if you wish), to make “snow” effect.
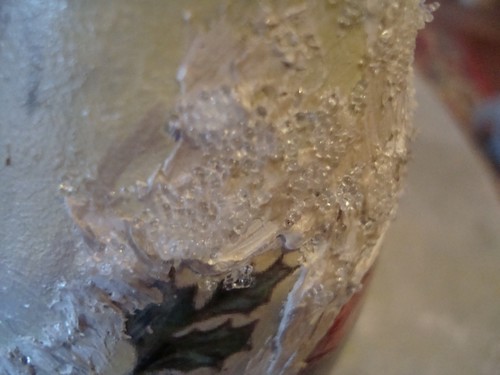
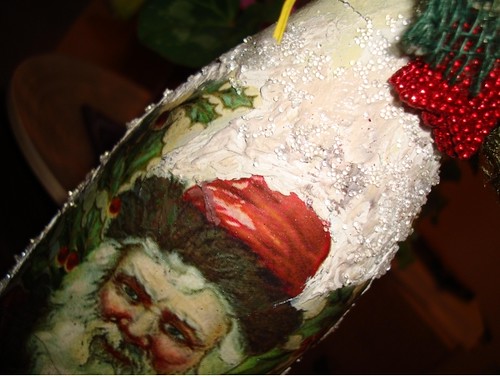
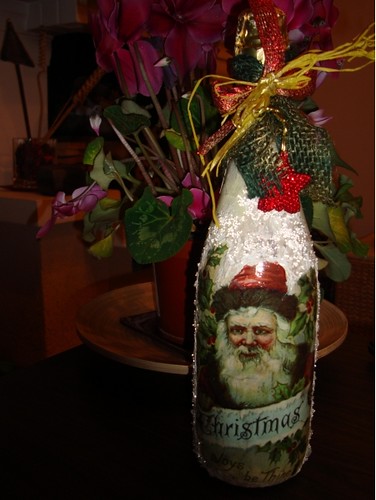
- When the bottle is dry cover it with varnish, decorate the neck. Sprinkle it with the spray of golden colour.
BEAUTIFUL.......
ReplyDeleteHI! MY NAME IS EFFIE AND I ADMIRE YOUR WORK ON THE BOTTLE!!!!!!!!!!!!
ReplyDelete